Is Your Lawn Tractor's Throttle Cable the Problem?
Is your lawn tractor sluggish, unresponsive, or even randomly speeding up? These are common signs of a faulty throttle cable. Ignoring the problem could lead to more significant engine issues down the road. This step-by-step guide will walk you through diagnosing and fixing the problem—saving you time and money! Let's get your lawn looking its best again. For other maintenance tips, check out our guide on changing a lawn tractor tire.
Identifying the Correct Replacement Cable
Finding the right replacement cable is crucial. Incorrect replacement can lead to engine damage or even safety hazards. Here's how to locate the perfect fit:
Find Your Model Number: Look for a sticker on your lawn tractor (usually under the seat, on the engine, or inside a compartment). This number is essential for ordering the correct part.
Use the Model Number to Search: Use your model number to search online or at your local hardware store. Be specific: search for "[Your Model Number] throttle cable." Don't rely on guesswork; using the wrong part can be dangerous.
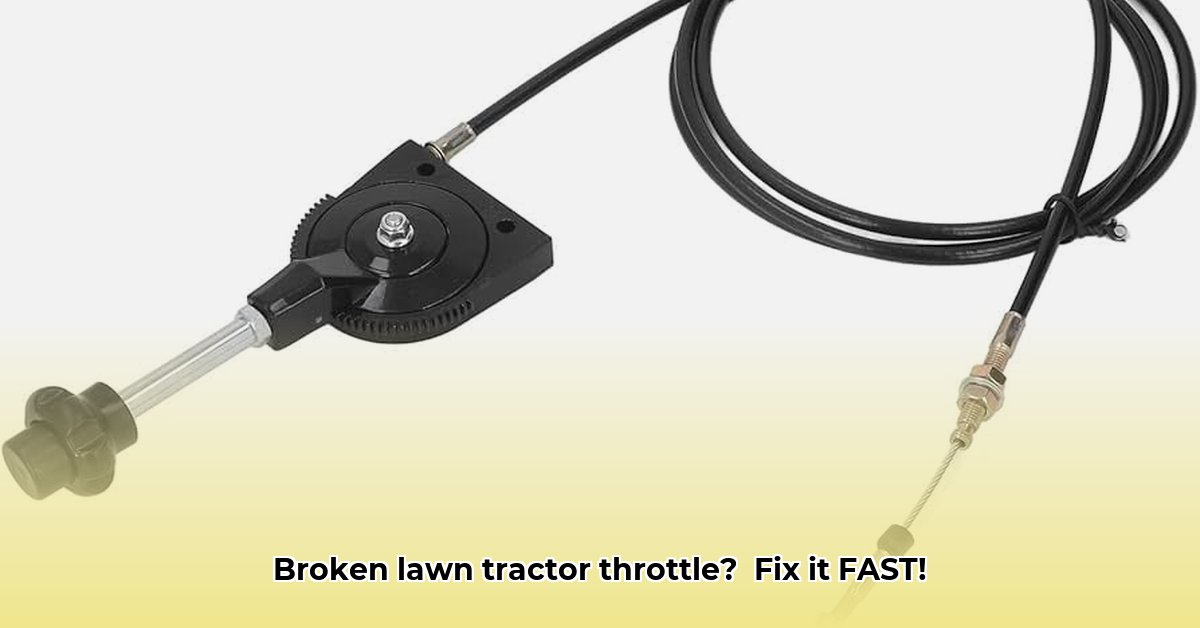
Understand Cable Types: Differentiate between throttle cables (controlling engine speed) and control cables (engine on/off, speed changes). Using the wrong type creates serious problems. Examine your old cable for markings.
Tools and Materials
Before you start, gather these essential items:
- Phillips head screwdriver
- Flathead screwdriver
- Needle-nose pliers
- Wrench (size depends on your mower; check your owner's manual)
- New throttle cable (the correct one!)
- Work gloves (for safety)
Step-by-Step Replacement Instructions
Safety First: Always disconnect the spark plug wire before starting any repair to prevent accidental starts.
Locate the Cable: Identify the cable's connection points at the engine and the throttle lever. Take photos for reference during reassembly.
Disconnect the Old Cable: Carefully remove the clamps or screws securing the old cable. Note the cable's routing.
Install the New Cable: Gently feed the new cable through the same path as the old one. Ensure smooth movement; avoid kinks or obstructions.
Reconnect the Cable: Securely attach the new cable at both ends, using the original clamps or screws.
Test and Adjust: Reconnect the spark plug wire. Start the engine and test the throttle response. Fine-tune any adjustments as needed. A little tweaking is often required for smooth operation. Isn't it amazing how a small cable makes such a difference?
Troubleshooting Common Problems
If problems persist after replacement:
- Cable Routing: Ensure the new cable follows the original path. Obstructions or kinks can impede function.
- Stiff Cable: Lubricate the cable (use a suitable lubricant; avoid getting it on other engine parts).
- Consult Manual: Your owner’s manual might offer additional troubleshooting tips. If all else fails, consult a professional.
Maintenance Tips: Extending Cable Lifespan
Regular inspection and maintenance prolong your cable's life. Inspect for wear, fraying, or stiffness. Periodic lubrication (every few months) keeps it running smoothly—a simple act that prevents costly repairs down the line. What's a few minutes of maintenance compared to hours of repairs?
Different Types of Throttle Cables
While standard cables suffice for most, heavy-duty or coated options provide enhanced durability and weather resistance. Consider your climate and usage when choosing a replacement.
Remember, replacing a throttle cable is a relatively simple DIY task that saves money and time. By following these steps and performing regular maintenance, you'll keep your lawn tractor running smoothly for years to come.